The Home Thermostat and TRV have daily schedules which can be set in the app or on the Home Thermostat. Instead of using on/off like a rotary timer on some boilers, the LightwaveRF heating will use the schedules based on temperature.
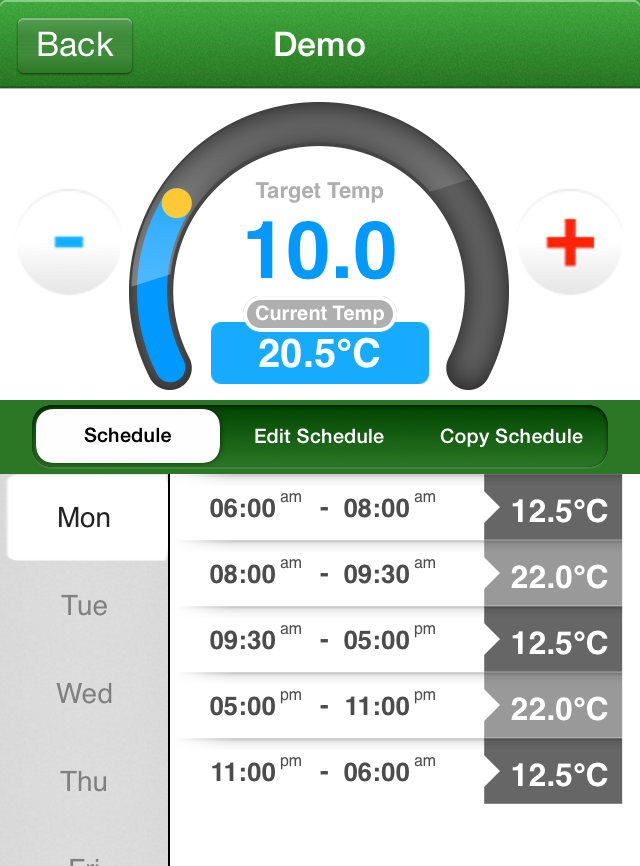
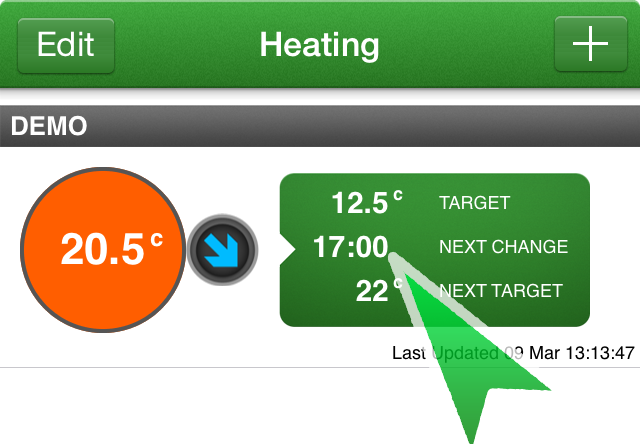
To set a schedule select the desired device from the list on the Heating tab. Tap anywhere in its 'cell' to view the scheduling & control screen
If any schedules have already been set from the app, they will display here. Note that schedule changes made on the thermostat directly, wont be reflected on the app. Select 'Edit Schedule'

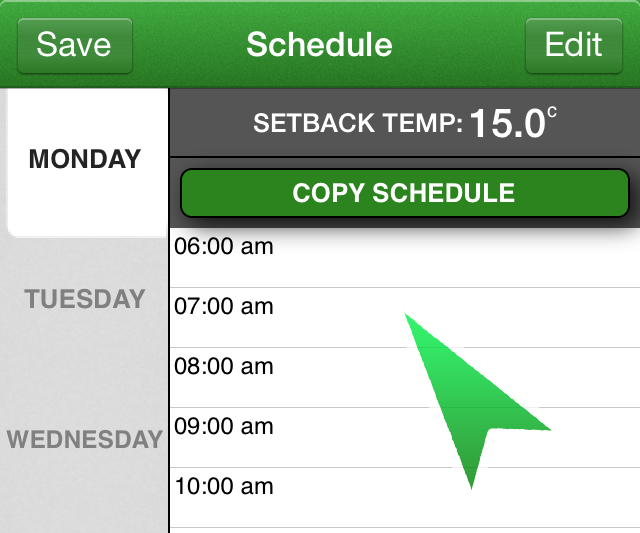
You can now choose any week days at the left hand side. Once selected, tap on the desired times to start setting your temperature.
You are able to choose a start and end time and the target temp
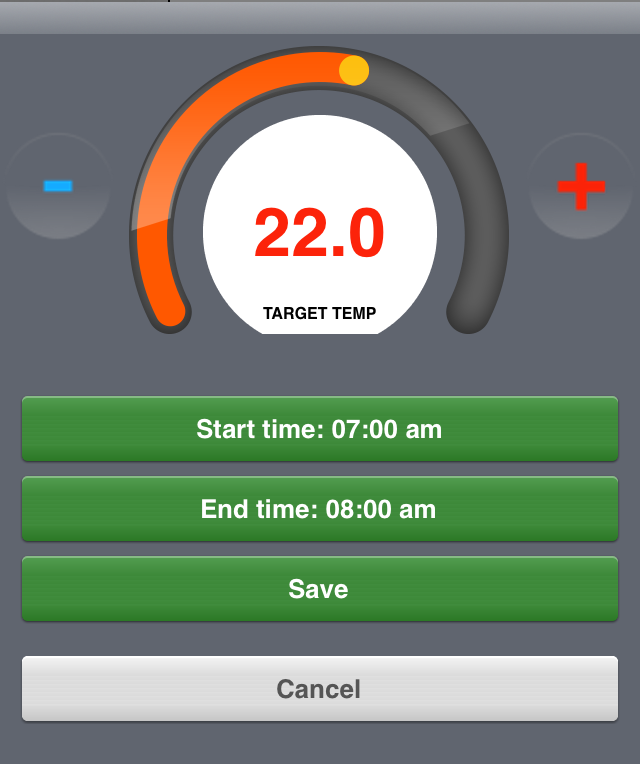
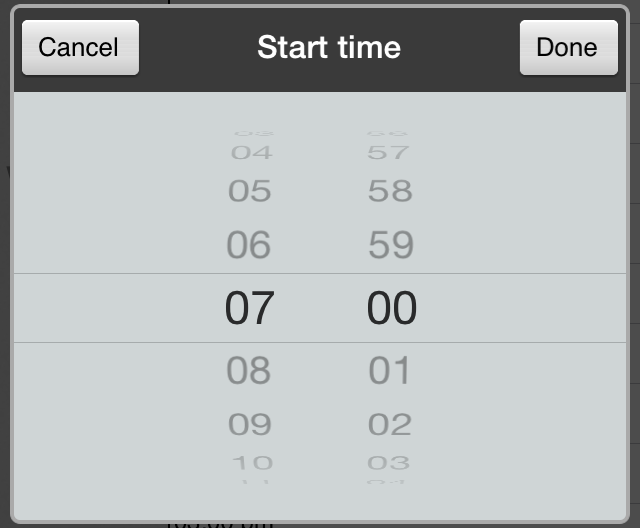
The app will detect where you tapped and choose that as the start time. You can adjust this time in 15min increments to be the time you wish by selecting 'Start Time'
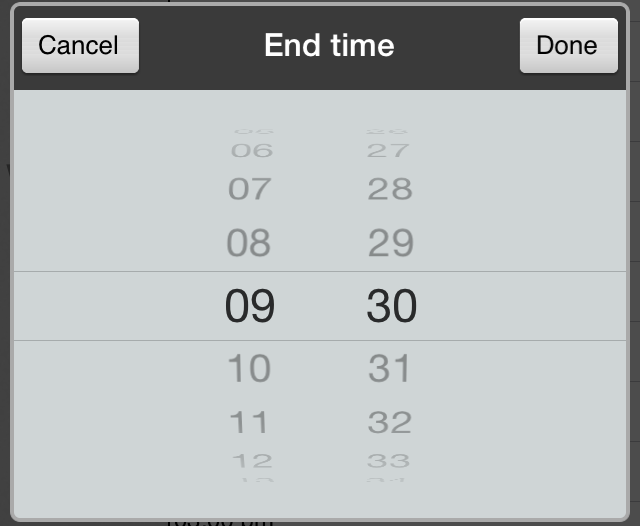
You can then do the same for the end time by selecting 'End Time'
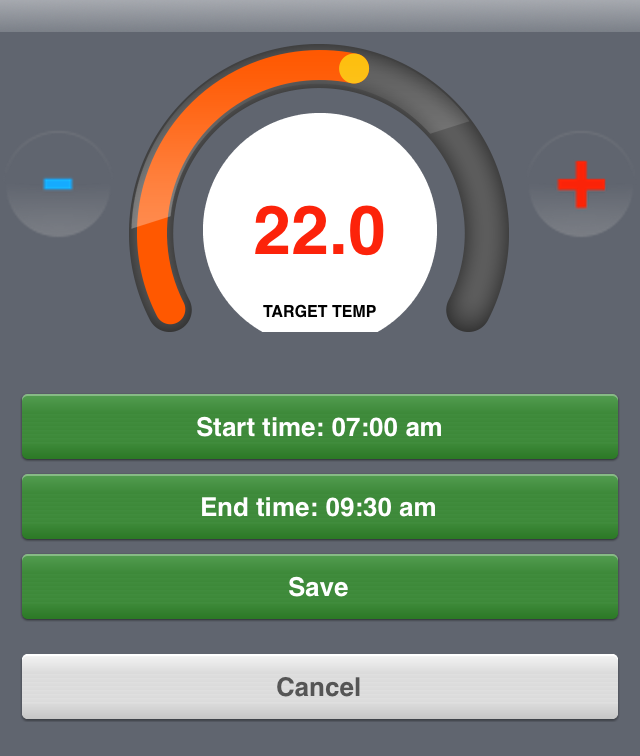
Use the + and - buttons to increase or decrease the temperature you would like to target at this time. You can also use the dial to do this
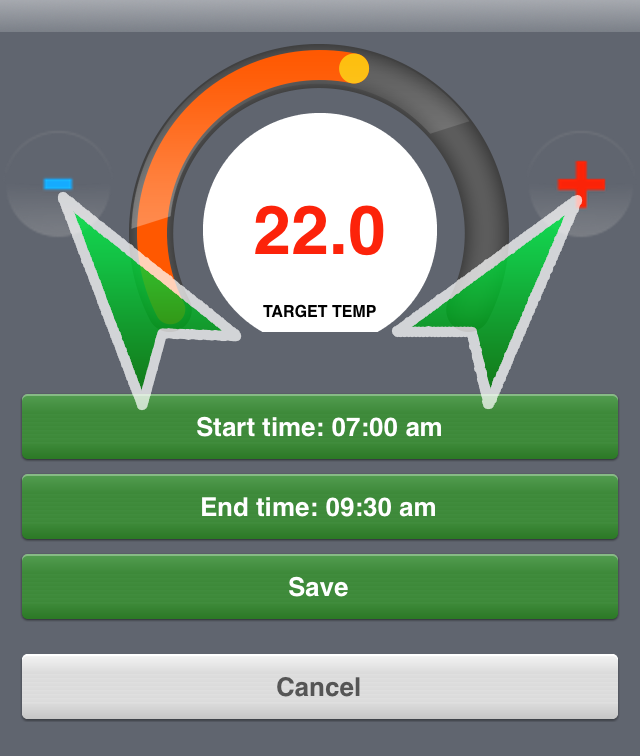
Once you are happy, you can review what you have selected and then select 'Save'. You can repeat this to have up to 5 heating periods in a day
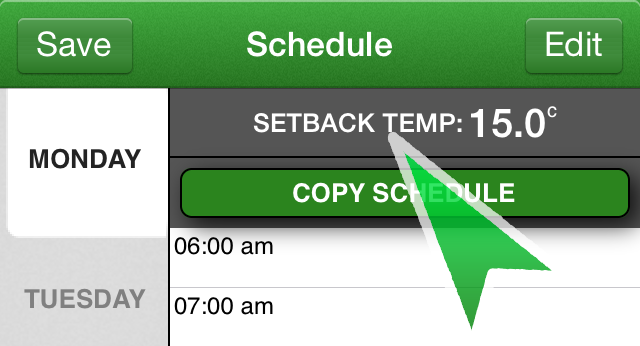
You can now choose a Setback Temperature. The purpose of the setback temperature is to allow your system to never get too cold; either frost wise when unoccupied, or uncomfortable when occupied (ie so you can come home early and it could still be 15C, even though the heating is 'off'). To set this temperature, select 'Setback Temp' at the top of your schedule
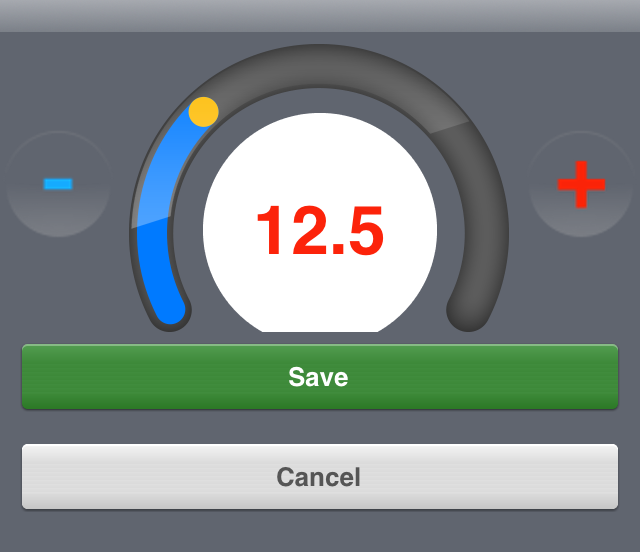
Use the + and - buttons to increase or decrease the temperature you would like to have when your heating is at setback. You can also use the dial to do this
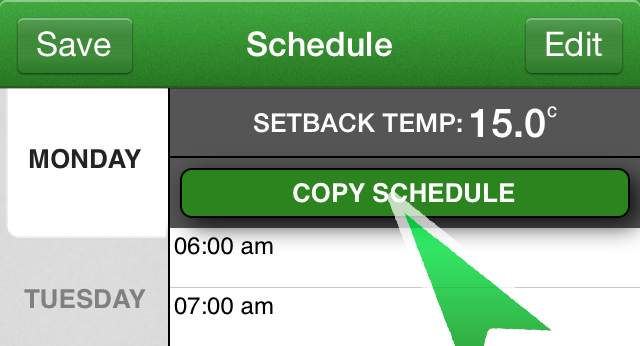
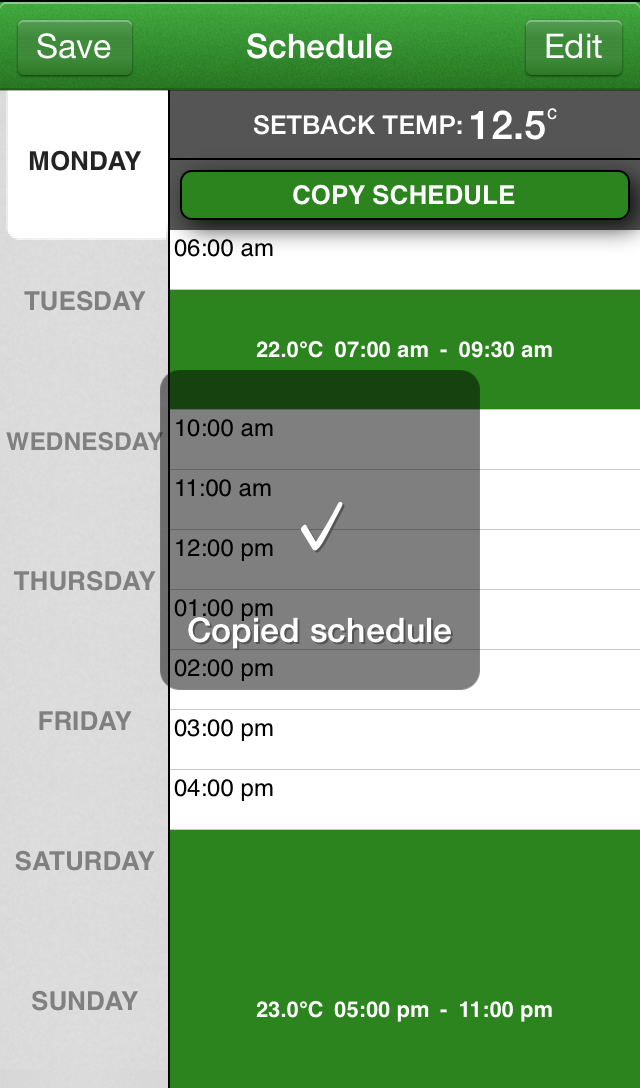
You are now able to see the slots where you have created schedules, you can copy your created schedule to any other days. Simply press on 'Copy Schedule'
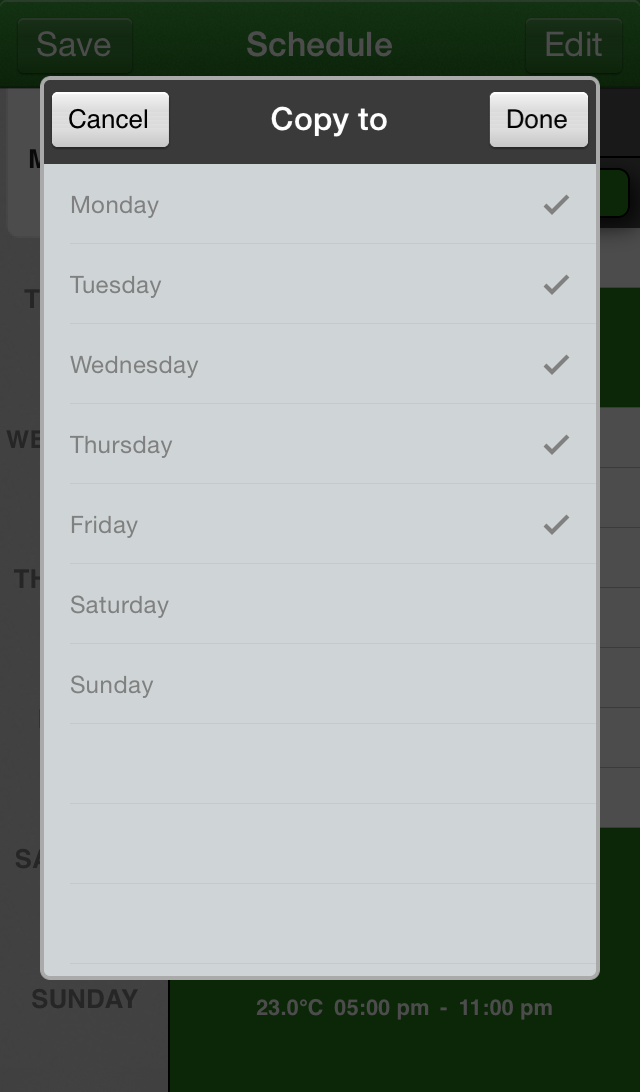
Choose the days you want the schedule you have created to run on
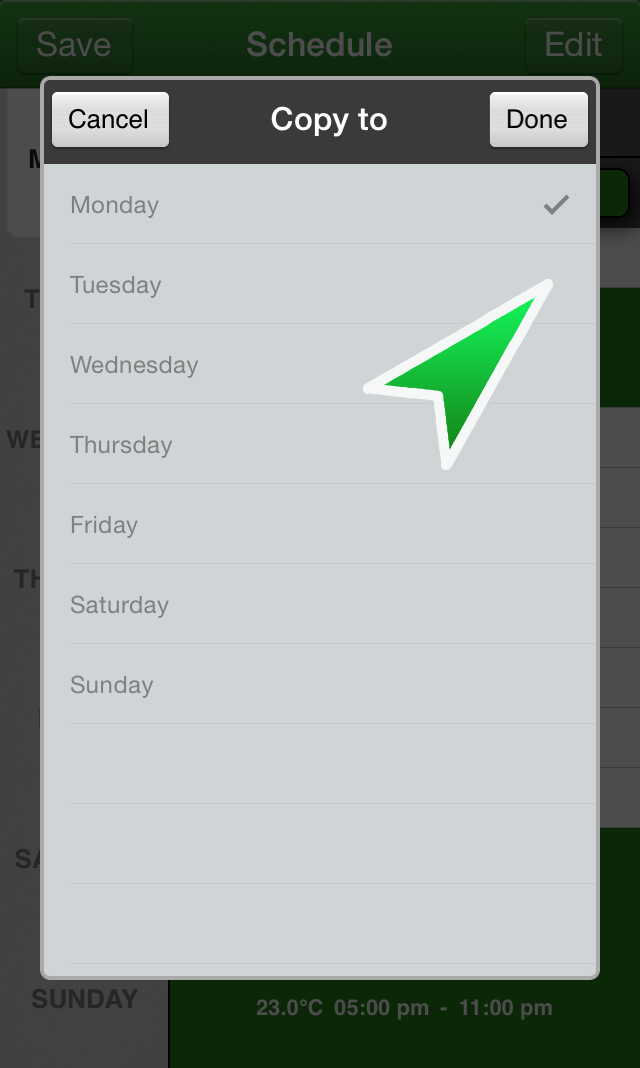
Hit 'Done' when you have finished choosing the days
Copied schedule will appear to confirm your changes were copied
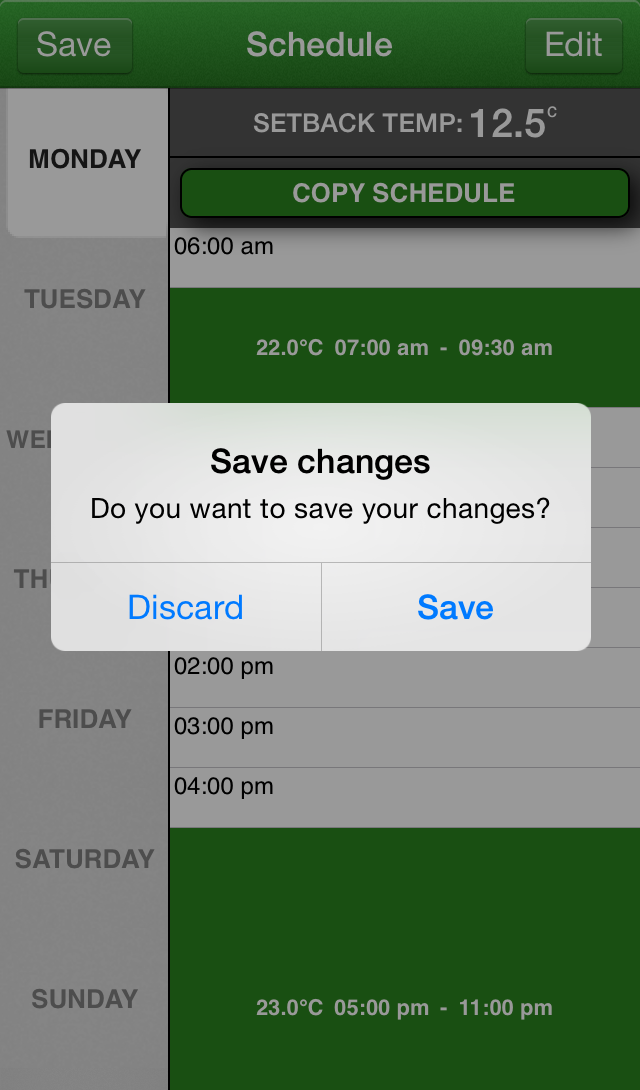
Now hit the Save tap on top right hand corner of the screen to save all these changes, press Save to confirm
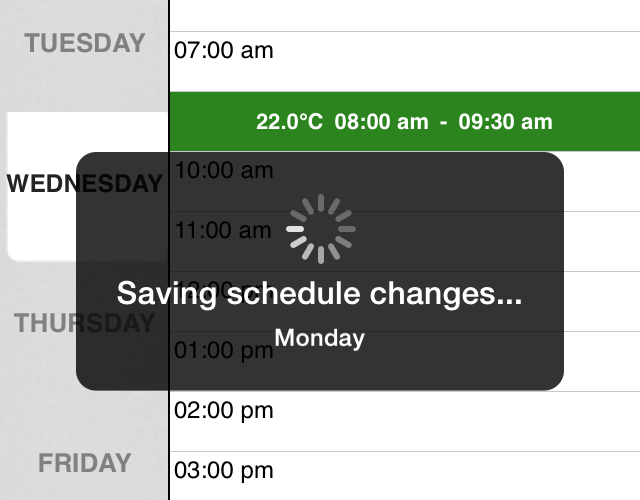
The app will now save any changes you have made. Days without any changes will not be saved
Your changes will now show in the schedule overview at the bottom of your screen